
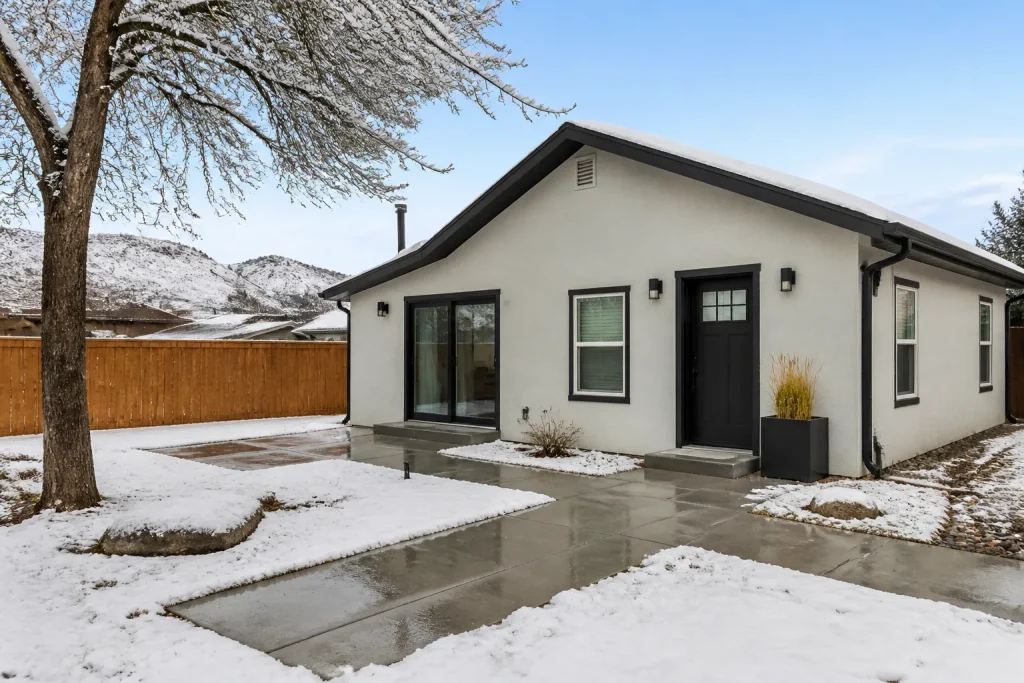
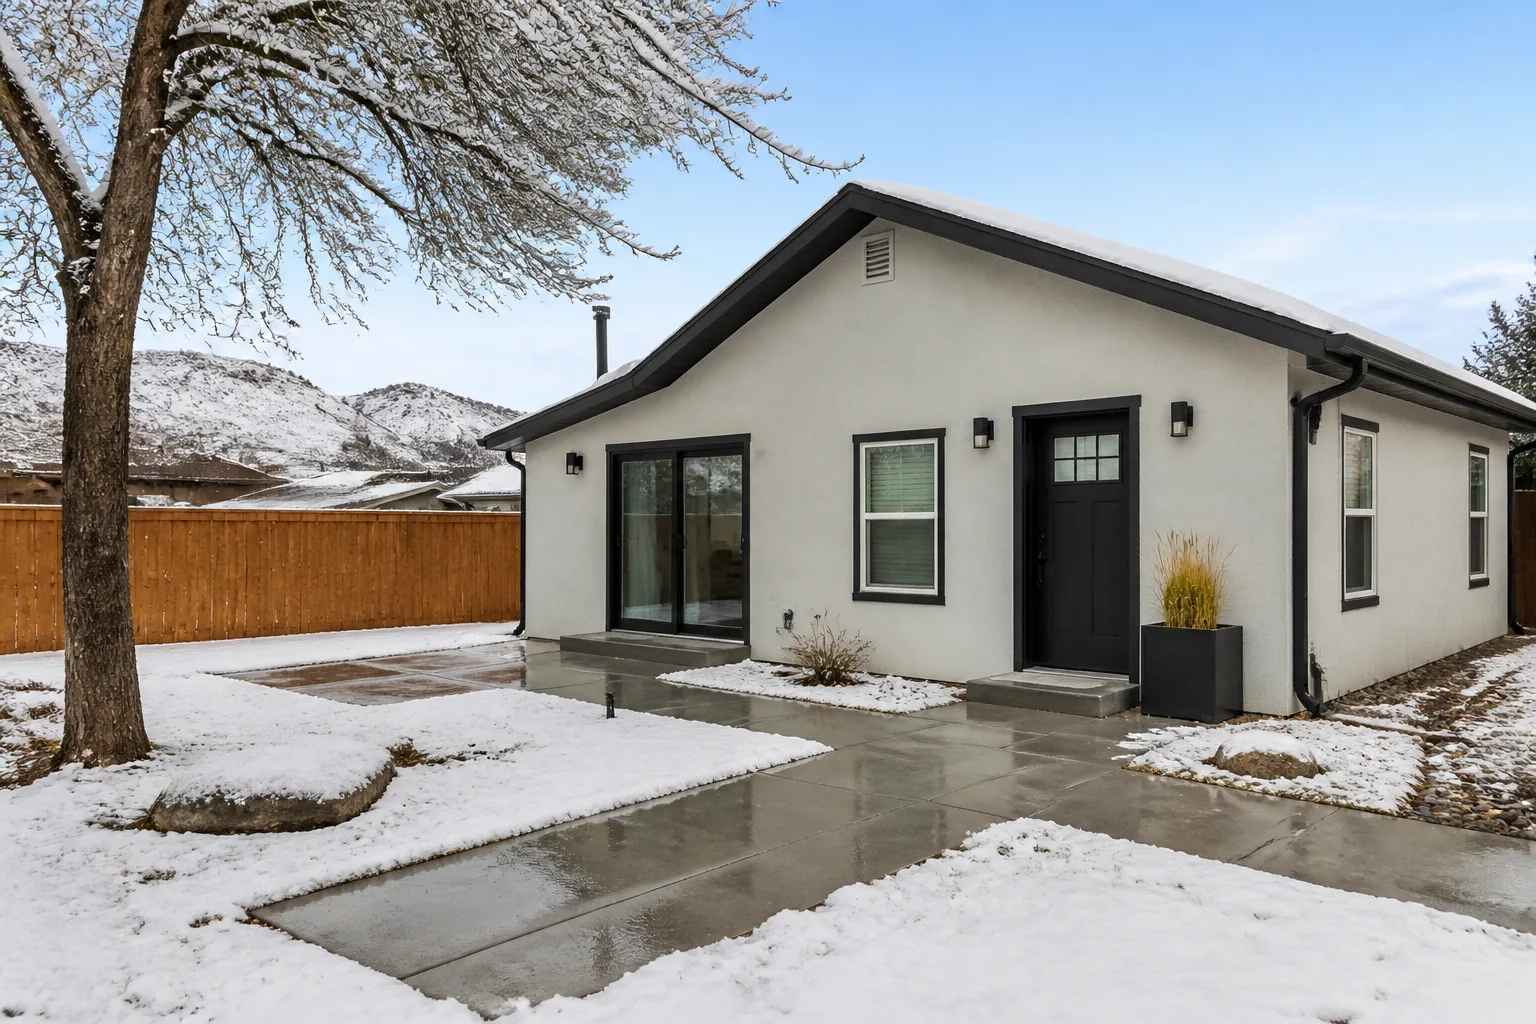
Preparing Your Home’s ADU for Winter in Whitney
Whitney averages about 20 nights below freezing each winter. That’s not brutal by mountain standards, but it’s plenty to split an un-drained hose bib or overwhelm a mini-split that was sized for a mild afternoon instead of a 28°F morning. Most ADU owners around Whitney don’t think about winterization until after the first damage bill shows up. This guide walks you through a ranked checklist built for our actual climate, not a generic cold-weather list written for Minnesota. If you’d rather not spend a Saturday on a ladder, call (844) 797-4814 and we’ll talk through what your unit needs.
Key Takeaways
- Whitney’s 20 or so freezing nights are enough to burst an un-drained hose bib or a poorly insulated supply line on an exterior wall.
- A mini-split’s rated low-temperature threshold matters more than its heating capacity on paper. Check the spec sheet before the first hard freeze.
- ADUs built or converted during Nevada’s dry summer often have gaps in air sealing that only show up as condensation once winter moisture rolls in.
- October work prevents damage. December work fixes it after the fact. Get the freeze-risk items done early.
- The 365-Day Done Right Promise covers defects in workmanship for a full calendar year from project completion. Read your contractor’s guarantee before you file a claim, not after.
Which Plumbing in a Whitney ADU Is Actually at Risk?
Not every pipe in your ADU needs attention. Whitney sits in a high-desert climate where the ground rarely freezes deep, and daytime temps almost always climb back above freezing by mid-morning. That changes the risk profile. Interior plumbing running through heated space is fine. The pipe that splits at 2 a.m. is almost always one of these:
- Hose bibs on exterior walls. The single most common freeze failure we see. A frost-free sillcock helps, but only if the hose is disconnected and the interior shutoff is drained.
- Supply lines in an unheated crawl space. Common in garage conversions and older shed conversions around Whitney. Even one cold snap with wind exposure can do it.
- Pipes running along exterior walls with thin insulation. More common in detached ADUs built from a panelized kit where the pipe chase hugs the outer sheathing.
- Irrigation lines and exterior spigots on the main house that share a shutoff with the ADU. Easy to forget one.
What’s overblown? Deep-buried water service lines and interior PEX runs through conditioned space. Those rarely fail in a Whitney winter. Don’t let a contractor upcharge you for “freeze-protecting” plumbing that was never at risk. A written price before work begins keeps that conversation honest.
Will a Mini-Split Keep Up When Whitney Drops Below Freezing?
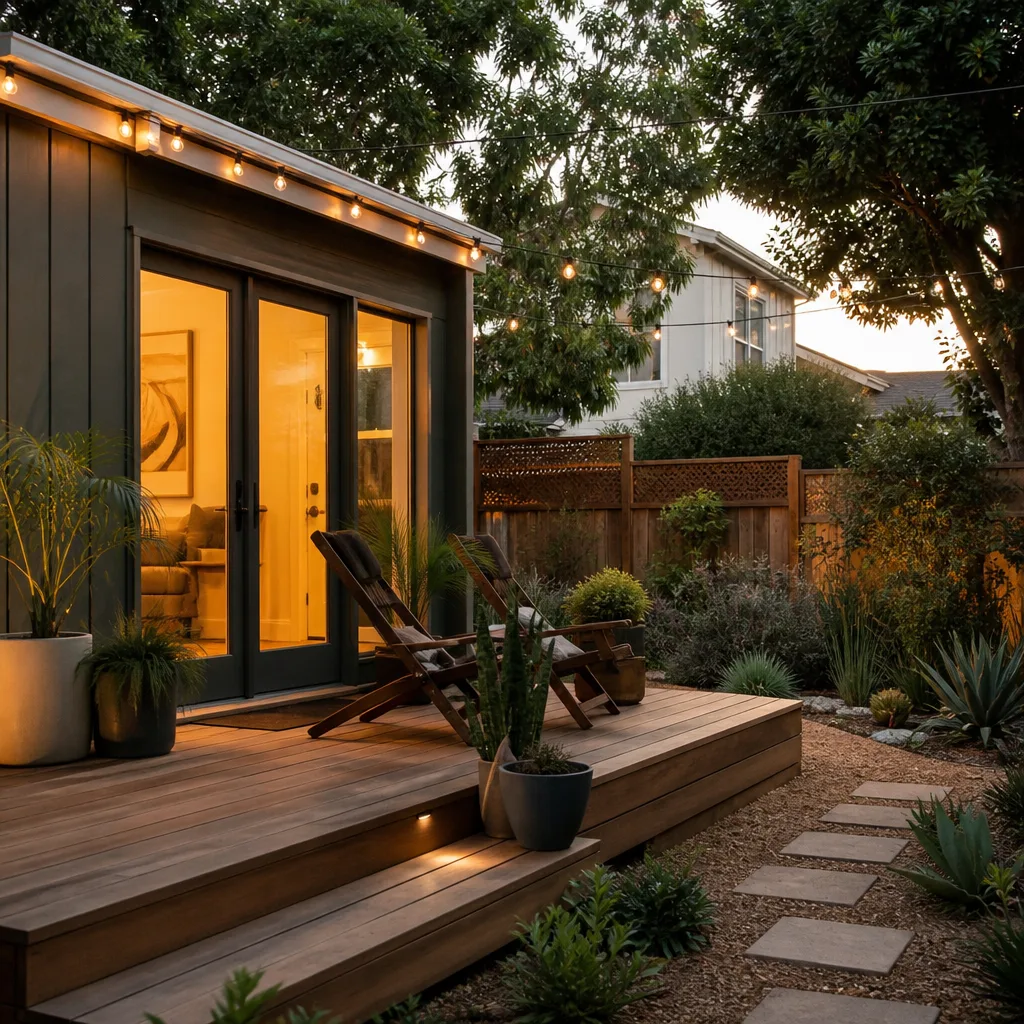
A cold-climate heat pump can heat a Whitney ADU down to 5°F and below. A standard mini-split rated for cooling-dominated climates starts losing capacity around 30°F and may shut off entirely near 20°F. That’s the number you need to check on your spec sheet, not the marketing line that says “heats and cools.”
Three practical steps before winter:
- Find your outdoor unit’s rated low-temp threshold. It’s on the nameplate or in the install manual, usually listed as “minimum outdoor operating temperature” for heating mode.
- Add a backup heat source sized for the coldest nights, even if it’s just a wall-mounted electric heater on a dedicated circuit. Nobody wants to discover the gap at 4 a.m. in January.
- Clear the outdoor unit. Leaves, snow, and ice build-up on the coil and fan force the unit to work harder and can trigger a defrost fault.
We pulled a unit near the Whitney Mesa trailhead last month where the outdoor mini-split had been buried under a pile of stored patio furniture all summer. The coil looked like a lint trap. It ran fine after a cleaning, but the homeowner was one cold snap from a $600 repair. Small maintenance, big difference.
Where Does Winter Moisture Actually Get Into a Whitney ADU?
Here’s the counterintuitive part about Whitney: the moisture problems that show up in winter are often created in summer. ADUs built or converted during the dry months don’t get tested by rain, so air-sealing gaps sit unnoticed until winter brings condensation, fog, and the occasional wet storm. The damage usually shows up as peeling paint on interior walls, damp insulation in the crawl space, or a musty smell near the bathroom exhaust.
Priorities, in order:
- Air sealing at penetrations. Where pipes, wires, and exhaust ducts pass through exterior walls. Foam or sealant at each hole.
- Bathroom and kitchen exhaust. Confirm the exhaust actually terminates outside, not into the attic or crawl. This is a common shortcut in quick conversions.
- Exterior caulking and weatherstripping. Doors, windows, and any joints in the cladding. If your ADU uses James Hardie siding, check the caulk lines at trim and corners; the cladding itself handles weather well, but the joints need care.
- Crawl space vapor barrier. If you have one, make sure it’s intact and sealed to the foundation walls.
- Insulation contact with sheathing. Damp insulation loses most of its R-value. If it’s wet, pull it and replace it.
For prefab units like those from Abodu or Cover, sealing is usually tight from the factory, but the site connections are where gaps appear. Those get re-checked on delivery, and they’re worth a second look before the first freeze.
What’s the Ranked Winterization Checklist for a Whitney ADU?
Here’s the order that matters. Do the October items before the first hard freeze; the December items can wait.
October (do these first)
- Disconnect and drain all hoses and hose bibs. DIY, ~free; contractor ~$75 – $150 per bib to install a frost-free sillcock if you don’t have one.
- Shut off and drain the exterior water supply to the ADU and irrigation system. DIY, ~free. This is the highest-value hour you’ll spend all winter.
- Insulate exposed crawl-space and exterior-wall supply lines. DIY with foam pipe sleeves, ~$30 – $80 in materials; contractor ~$150 – $350 depending on run length.
- Air-seal penetrations and check exhaust terminations. DIY, ~$20 – $60; contractor ~$200 – $450 for a full pass.
- Clean the mini-split outdoor unit and confirm the heating-mode low-temp spec. DIY, ~free; contractor service call ~$100 – $200.
- Test the backup heat source. Run it for 20 minutes on a cool evening to confirm it actually works.
December (can wait)
- Weatherstripping and door sweeps. DIY ~$40; contractor ~$150.
- Replace any wet or compressed insulation found during the October inspection. Contractor ~$300 – $700 for a typical ADU wall or floor section.
- Interior humidity check. A cheap hygrometer keeps you under 50% RH and prevents condensation on cold walls.
When Should You Call a Pro Instead of DIYing It?
Drain the hose bibs yourself. Clean the mini-split filter yourself. Test the backup heater yourself. Call a pro when the work involves:
- Opening a crawl space to access, repair, or replace a supply line you can’t reach safely.
- Working inside an electrical panel to add a dedicated circuit for backup heat.
- Pulling wet insulation out of a wall cavity and confirming there’s no rot or mold behind it.
- Diagnosing a mini-split that’s short-cycling or icing on the outdoor coil.
These are the repairs where a bad DIY job costs more than the professional version. If you’re in Whitney and any of those apply, we’re happy to take a look. Our technicians have up to 20 years of experience, and every one of them is background-checked and identity-verified through the Threshold Standard, so you know exactly whose name and photo you’re getting before they arrive.
Related services in Whitney: If your winterization checklist turns into a repair or an upgrade, our ADU builders in Whitney handle detached units and full replacements. For a garage conversion that needs new plumbing or insulation, see our home addition contractor in Whitney page. Adding a small bump-out for a utility closet or a proper mechanical room? The room addition contractor in Whitney team can help. And if you’re still deciding between an attached addition and a standalone unit, start at the Sutton ADU Builders Whitney home page.
What Should Your 365-Day Workmanship Warranty Cover for Winter Failures?
A workmanship warranty is only useful if you understand what it covers before something fails. Here’s how to read one, using the 365-Day Done Right Promise as the example of what a real written guarantee looks like:
- Workmanship vs. materials. Defects in how the work was done (a poorly sealed penetration, a joint that wasn’t caulked, insulation installed with a gap) are workmanship. A hose bib that froze because you didn’t drain it is not.
- Freeze damage attribution. If a pipe burst because it was installed on an exterior wall without insulation, that’s a workmanship issue. If it burst because the shutoff was never used, that’s maintenance. Know which is which.
- The free second visit. Good guarantees include a free return visit if a repaired element fails. Ask specifically whether that’s written down.
- The full calendar year. Not “one winter.” The 365-Day Done Right Promise covers defects in workmanship for one full calendar year from project completion.
Before you file a claim on a frozen pipe, pull out the original written price and the scope of work. That document tells you what was actually promised. If your contractor handed you a verbal estimate instead, you’re starting from a worse position. Every project we take on comes with a written price before any work begins, and that document lives in your file.
The Bottom Line
Winterizing a Whitney ADU comes down to five things: drain the exterior water, insulate the crawl-space and exterior-wall lines, air-seal the envelope, verify your mini-split’s cold-weather limit and back it up with a real heat source, and read your workmanship warranty before something fails. Most of this fits in a Saturday. Do the October items now and the December items on your own schedule. And if any part of the checklist turns into a repair you’d rather not handle, we’re here.
If you’re in Whitney and need help, Sutton ADU Builders Whitney offers free estimates, a written price before any work starts, and the 365-Day Done Right Promise on completed work. Call (844) 797-4814 to schedule yours.
Frequently Asked Questions
Whitney averages about 20 nights below freezing each winter, usually with daytime temps climbing well back above freezing. A single overnight freeze is enough to split an un-drained hose bib or a thin-walled supply line on an exterior wall. That’s why draining exterior water is the highest-priority item on the list, even in a mild winter. Call (844) 797-4814 if you’d like us to walk the unit with you.
If you do the DIY portion yourself, expect $50 – $150 in materials: foam pipe sleeves, caulk, weatherstripping, and a hygrometer. A full contractor service pass typically runs $400 – $900 depending on crawl-space access, run length, and how many penetrations need sealing. Mini-split service is usually $100 – $200 on top of that. Call (844) 797-4814 for a written quote on your unit.
It’s usually the unit hitting its rated low-temperature threshold, which means it shut off to protect itself, not that it broke. Check the nameplate for the minimum outdoor operating temperature in heating mode. If the outdoor temp was below that number, the unit did what it was designed to do. The fix is a backup heat source, not a new mini-split. Call (844) 797-4814 if you’re not sure which one you have.
It covers defects in workmanship for one full calendar year from project completion. If the freeze happened because a pipe was installed on an exterior wall without insulation, or a penetration was left unsealed, that’s a workmanship defect and you have a claim. If the freeze happened because a hose bib was never drained, that’s routine maintenance. Read your original scope and written price carefully, and call (844) 797-4814 to talk through any claim.
Written by the team at Sutton ADU Builders Whitney.
Need ADU Help?
Call Sutton ADU Builders Whitney - licensed & insured, here with fast after-hours help in Whitney.
(844) 797-4814